How to View Your Credit Activity

Monitoring your credit usage is simple and transparent. Your workspace's Credits Activity log provides a detailed, real-time history of all credit purchases, deductions, and adjustments, so you always know exactly how your credits are being used.
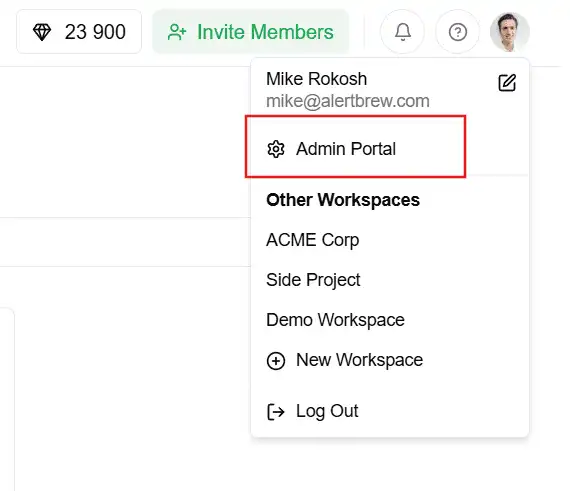
1. Go to Your Workspace Admin Portal
 You must be a workspace Owner or Admin to view the credit activity log.
Click on your profile icon in the top-right corner of the dashboard.
Select "Admin portal" from the dropdown menu.
2. Navigate to Credits Activity
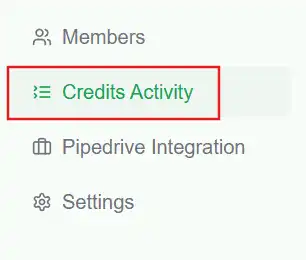 In the admin portal sidebar, click on "Credits Activity".=
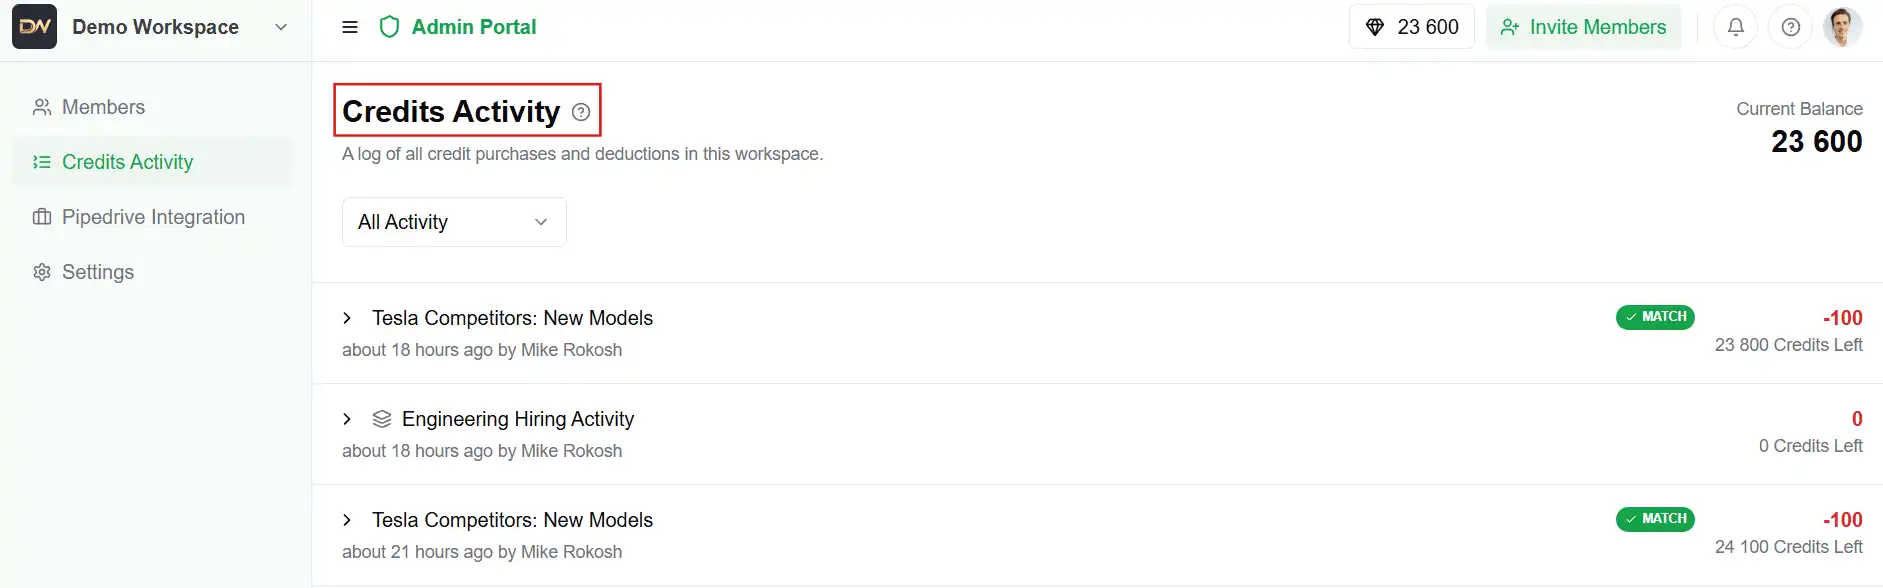
3. Understanding the Activity Log
The log displays a chronological list of all transactions in your workspace. Here's how to read each entry:
Description: Explains what the transaction was for.
Purchase: Credits added via a purchase.
Alert Search: Credits used to run an alert.
Admin Grant: Credits manually added by a platform administrator.
Amount:
Positive numbers (e.g., +10,000) indicate credits being added.
Negative numbers (e.g., -100) indicate credits being used.
Balance After: Shows your workspace's total credit balance immediately after that transaction.
Date: The timestamp for when the transaction occurred.
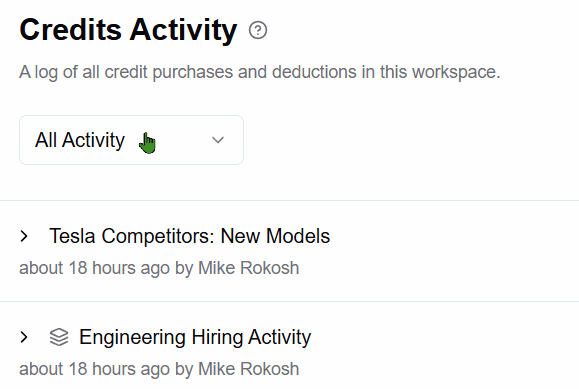
 4. Filtering Your Activity
You can filter the log to see specific types of transactions:
All Activity: Shows everything.
Incoming Credits: D
 isplays only purchases and grants.
Credits Spent: Shows only deductions from alert searches and insights.
Expired Credits: Shows any promotional or expiring credits that have been removed.
Note: This page is your single source of truth for all credit-related events in your workspace. Review it regularly to understand your usage patterns and ensure you always have enough credits for your monitoring needs.