How to Move and Clone Alerts

As your monitoring needs evolve, you may need to reorganize your alerts or create variations of existing ones. AlertBrew makes this easy with the "Move" and "Copy" (clone) features.
1. Moving an Alert
Moving an alert relocates it from its current location (e.g., "My Alerts") to a different Space. This is useful for sharing a private alert with your team or reorganizing alerts between projects. The alert's search history and settings are preserved when it is moved.
Locate the Alert: Find the alert card on your dashboard.
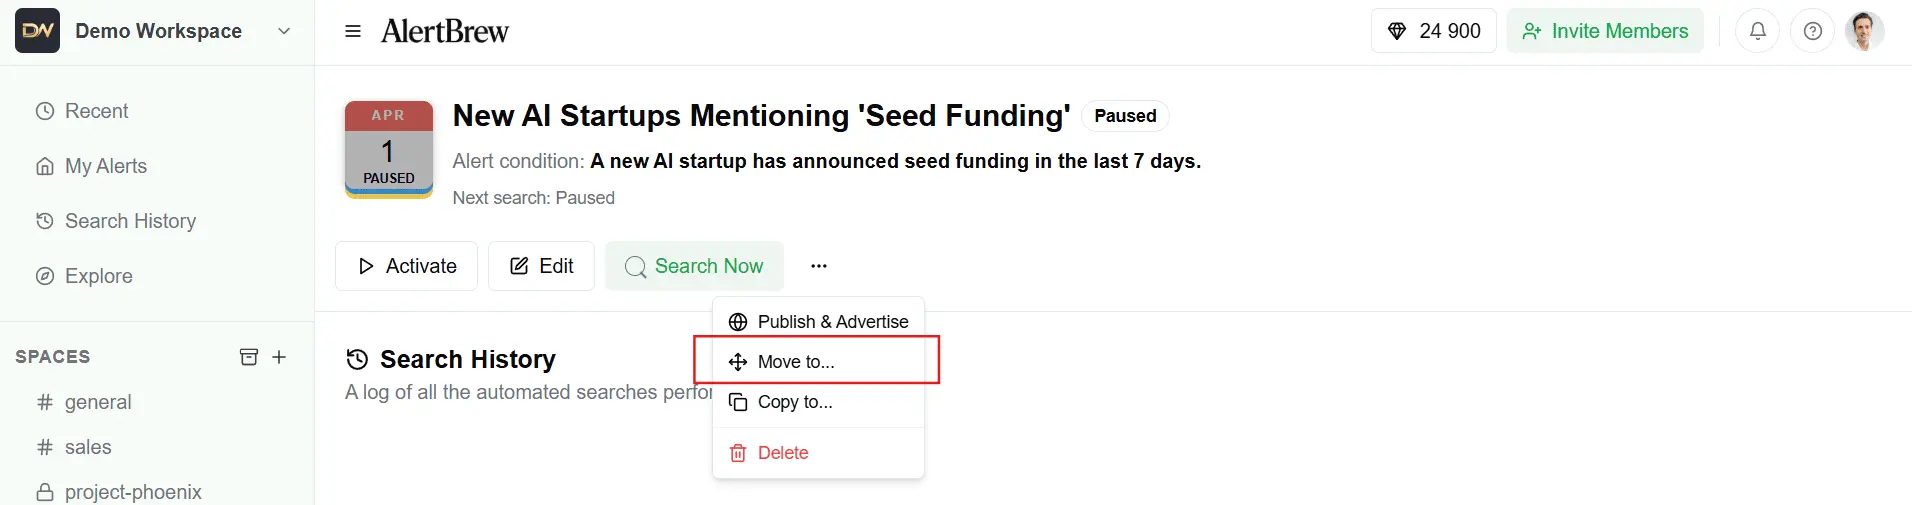
Open the Options Menu: Click the three-dot menu on the alert card to reveal more actions.
Select "Move to...": Choose this option from the dropdown menu.
 4. Choose a Destination: A dialog will appear listing all available destinations, including your private "My Alerts" area and all Spaces you are a member of. Click on the desired destination.
 The alert will now appear in its new location.
2. Cloning an Alert (Copy to...)
Cloning creates an exact duplicate of an alert, which you can then modify. This is perfect for when you want to create a slightly different version of an existing alert without starting from scratch.
Locate the Alert: Find the alert you want to copy.
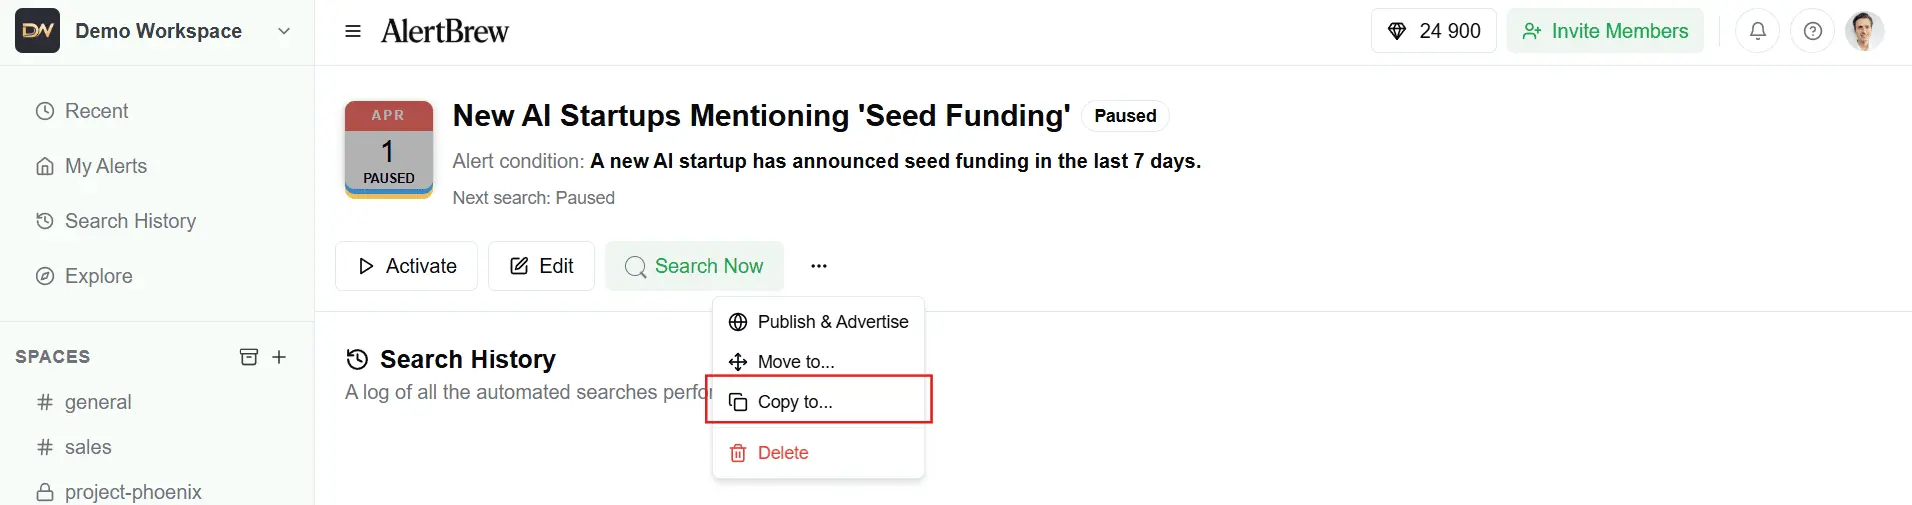
Open the Options Menu: Click the three-dot menu on the alert card.
Select "Copy to...": Choose this option from the menu.
 4. Choose a Destination: Just like moving, select where you want the new copy to be created.
5. A New Copy is Created: A new, identical alert will be created in the selected destination. It will have the same name, condition, and settings, but will start with a Paused status and a fresh search history. You can now edit and activate it independently of the original
Note: The key difference is that moving relocates the original alert, while cloning (copying) creates a brand new, independent alert based on the original.