How to Manage Your Alert's Status (Activate, Pause, Archive)

Every alert you create has a lifecycle. Understanding how to manage its status—whether it's Active, Paused, or Archived—is key to controlling your monitoring and credit usage.
1. Activating an Alert
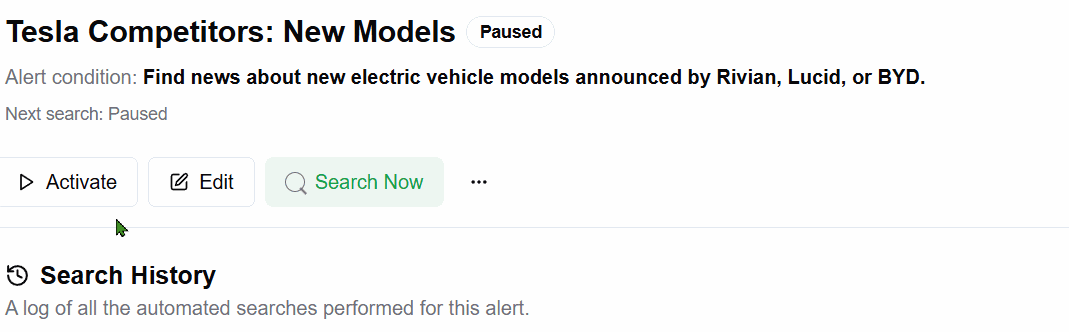
When you first create an alert, it starts in a Paused state. To begin monitoring, you must activate it.
How to Activate: On the alert card, click the Activate button.
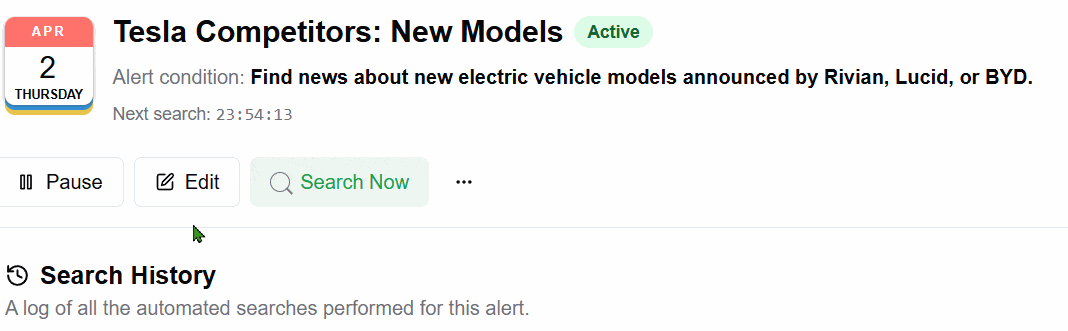
What it does: The alert's status will change to Active, and it will begin searching the web according to its schedule.
 2. Pausing an Alert
Pausing an alert temporarily stops it from running its scheduled searches. This is useful if you want to stop monitoring for a while without deleting the alert.
How to Pause: On an active alert card, click the Pause button.
What it does: The alert's status will change to Paused, and all scheduled searches will be suspended until you reactivate it. No credits will be used while an alert is paused.
 3. Archiving an Alert
Archiving is a way to clean up your dashboard by hiding alerts you no longer need, without permanently deleting them.
How to Archive:
Click the three-dot menu on an alert card to open more options.
Select "Archive".
What it does: The alert will be removed from your main dashboard view. You can view your archived alerts by switching to the "Archived" tab in any space.
Restoring an Archived Alert
You can bring an archived alert back to your main dashboard at any time.
How to Restore:
Navigate to the "Archived" tab in the space where the alert was located.
Click the "Restore from Archive" button on the alert card.
Note: An alert is only considered "active" and will only consume credits when its status is Active. Paused and Archived alerts do not perform searches and do not use credits.